
Burning Bridges AI Trend: Make the Video with Your Photos
The Burning Bridges AI trend puts your chosen lead into a crowded indoor performance: a metal cup in hand, friends close behind, and the camera following the action. Start with one photo in the Burning Bridges AI tool. Add separate photos if you also want to recast people in the background. This guide explains the source, the photo roles, and how to make your version.
Try Burning Bridges AI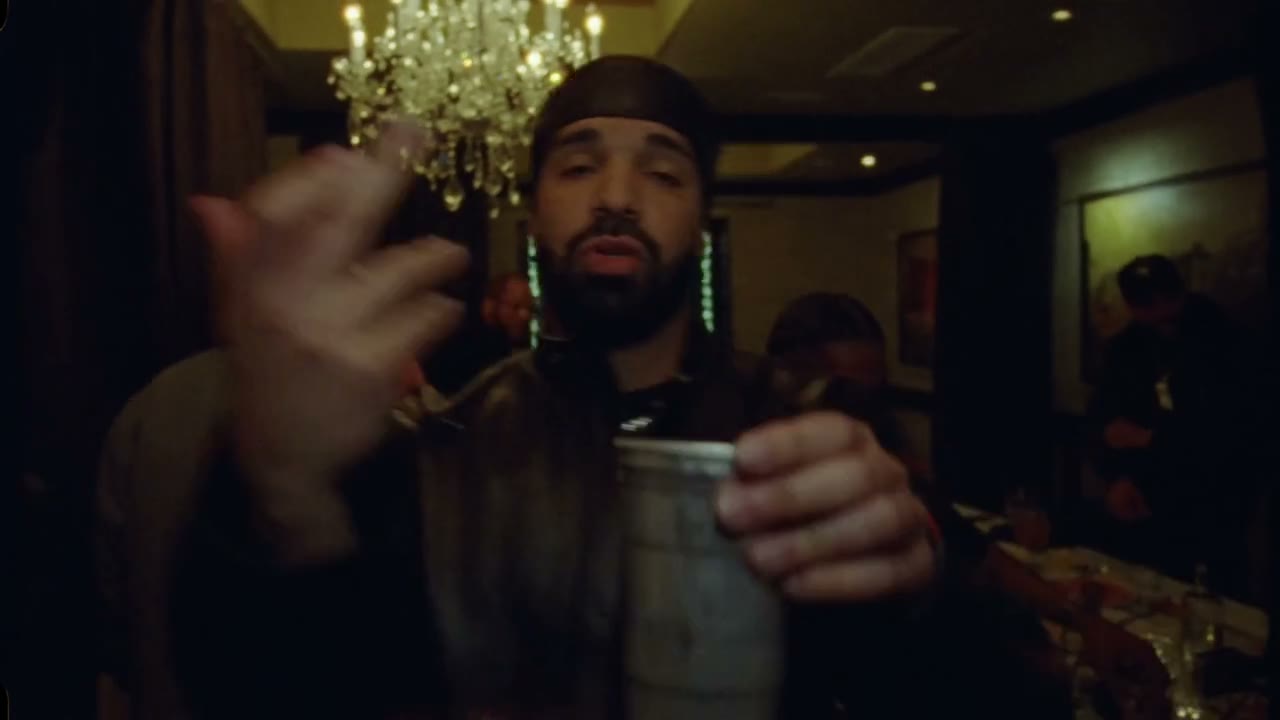
What is the Burning Bridges AI trend?
The appeal is the recasting: a familiar performance takes on a different personality when your own face, outfit, or original character becomes the lead. The room, the people gathered around the camera, and the confident gestures give the clip its atmosphere. You supply the appearance; the reference supplies the performance.
The Burning Bridges AI template on Motion Transfer uses an approximately 29-second, 16:9 reference. Its instructions preserve the camera path, gestures, timing, lip movement, and interactions in the room. The finished video includes the reference soundtrack. You can change only the lead or also provide photos for individual supporting people.
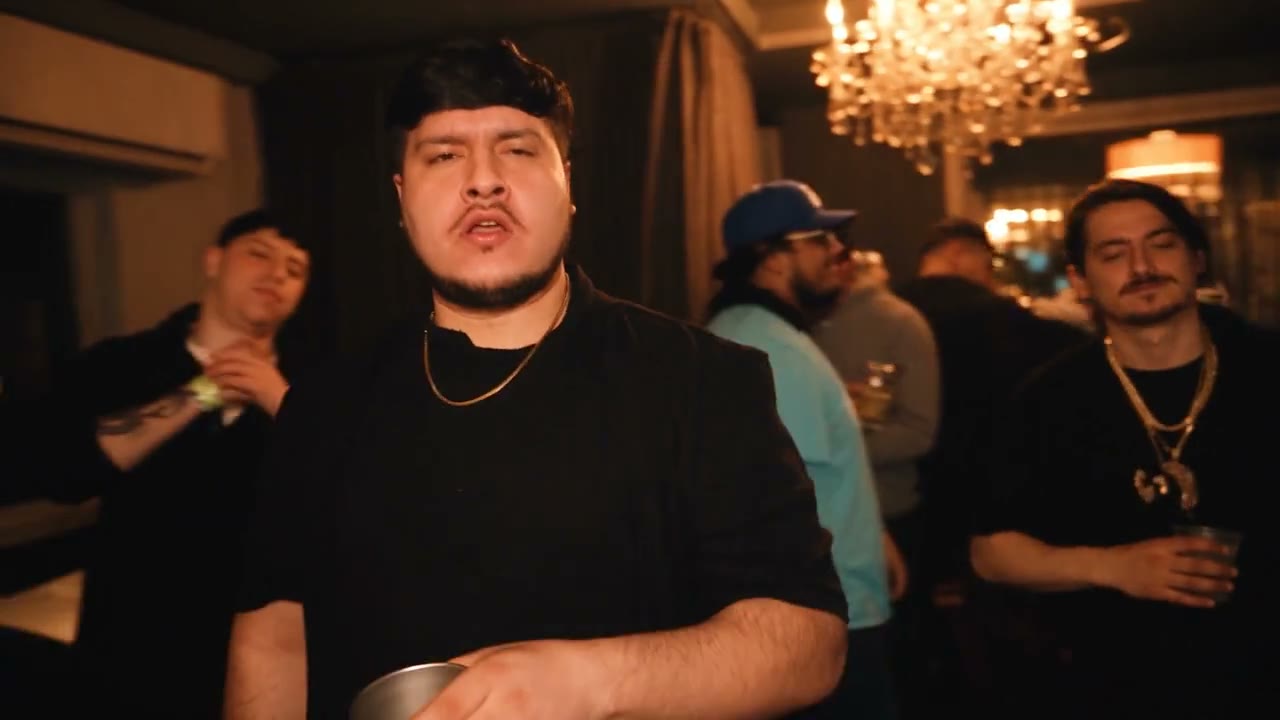

Choose the casting idea before gathering photos. A single unexpected lead can carry the joke. A coordinated group, such as friends in matching team colors, gives the supporting cast a purpose too. More photos are useful when they communicate distinct roles; they do not automatically improve the video.
Where does Burning Bridges come from?
Drake’s official Burning Bridges music video was published on May 15, 2026, with Theo Skudra credited as director. You can also find the original work on Apple Music.
The AI version turns the performance into a casting template: a new lead takes the foreground while the recognizable movement and room remain the reference. The tool uses a short excerpt for that transformation. The original music video is the source work; these official release records do not identify who first made the AI adaptation.
One lead photo, with an optional supporting cast
Lead · @Image 1
This is the only required photo. It defines the foreground performer’s face, hair, skin, body, clothing, and visible accessories. Choose the outfit you want in the result. A face-only photo leaves the model to infer much of the body and wardrobe.
Background · optional
Leave this group empty to ask the template to preserve the surrounding people. To recast them, add one separate photo per person. These photos start at @Image 2; do not put a collage or a whole group into a single image.
Background photos are requested in order of each person’s first appearance in the reference, with left-to-right order when several people appear together. Watch the loaded preview before choosing your photos. The template then asks the model to keep tracking each assigned person as the camera and crowd move.
This ordering is guidance for generation, not a precise on-screen person selector. Turned faces, overlapping bodies, or several people entering together can make assignments less reliable. Start with a small supporting cast whose appearances are easy to distinguish, and review who actually changes before adding more.
The upload group supports up to 5 background photos alongside the lead. That is the available capacity, not a target number of guests. Extra photos do not ask the template to add people. Anyone without an assigned photo is intended to retain their original appearance.
Choose photos that work with this close, moving camera
Make the face and outfit readable
Use a sharp, evenly lit photo with a visible face, shoulders, and enough of the torso to show the clothes. A fuller body view helps with proportions. Avoid a tiny face in a distant group shot or a tight portrait that leaves the outfit unspecified.
Keep hands and props simple
You do not need to hold a cup or imitate the performance. The reference already supplies those movements. A relaxed pose with separate arms gives clearer body information than a hand across the face, crossed limbs, or a large object hiding the torso.
Give each supporting person their own image
Use distinct, single-person photos for the people you want to add. Recognizable hair and clothing help communicate different identities. Reusing one face for several roles or mixing multiple people in each photo makes the cast harder to distinguish.
Choose the look you want to keep
The prompt uses visible clothing and accessories from the photos. It does not request a fixed branded outfit or add glasses by default. Small logos, jewelry, and details hidden by the pose may still change during generation.
Your photo does not need to show the same room or lighting as the video. Choose it for the person, and use an image you have permission to transform. The loaded reference provides the crowded setting and warm light.
How to make a Burning Bridges AI video
The Burning Bridges AI page prepares the reference, Seedance 2.5 Reference mode with a 29-second output, and the default prompt. You can start with the lead photo alone; there is no need to assemble a timeline or write instructions for the crowd.
1Watch the reference and upload the lead
Open the Burning Bridges AI workspace. Watch the loaded clip, then choose Upload lead photo under Lead · @Image 1. Check that the preview shows the correct person and outfit. Uploading a photo does not begin generation.
2Add background people if you want them
After the lead is attached, use Background · optional to upload separate supporting photos. Check their order and remove anything you do not need. To change the lead while keeping the supporting photos, use Replace. Removing the lead requires removing the background photos first, so their roles do not move into the lead slot.
3Choose resolution and review the estimate
In Settings, choose 480p, 720p, or 1080p. Leave Custom prompt off to use the prepared role instructions. The clip follows the reference duration, with no separate length picker. Review the current credit estimate beside Generate before submitting; higher resolution cannot guarantee more accurate faces or cast assignments.
4Generate, preview, and download
Sign in and select Generate when the inputs are ready. Follow the task in My creations. Play the completed result with sound, inspect the lead and any recast companions through the whole clip, and download the version you want to keep. The template includes the reference audio without asking you to generate a new song.
Check the cup, the close-ups, and the supporting cast
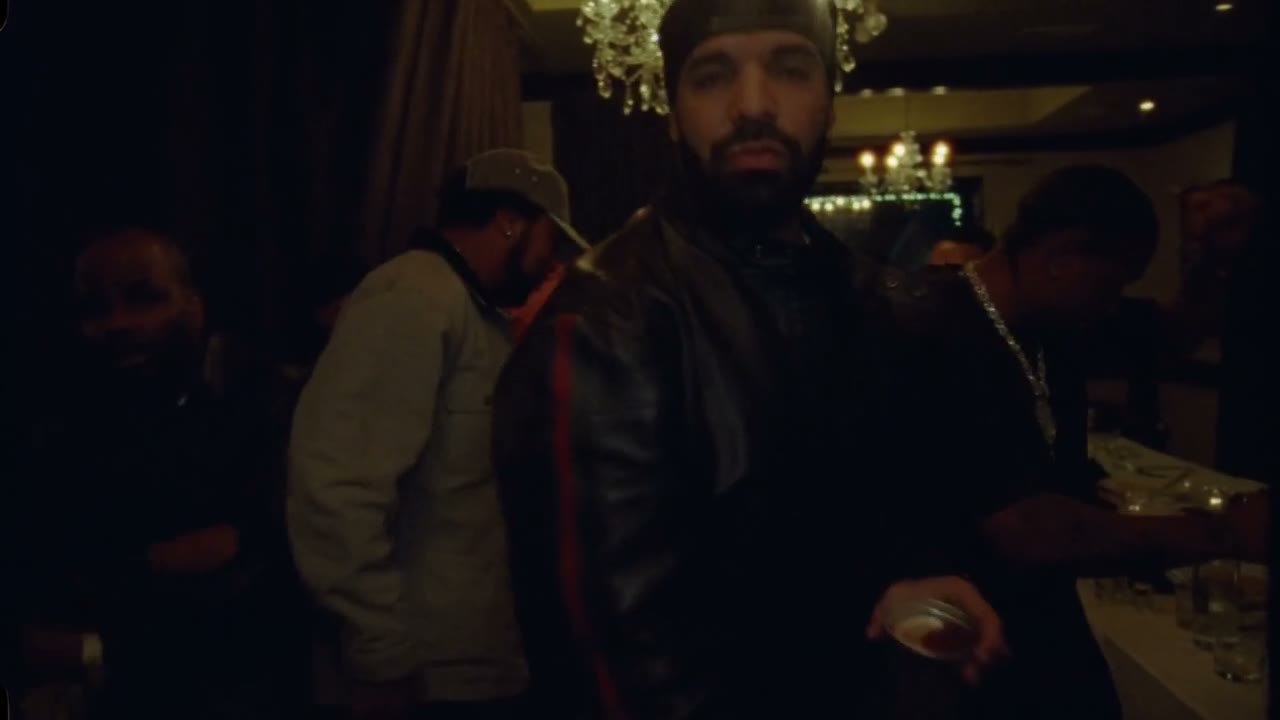
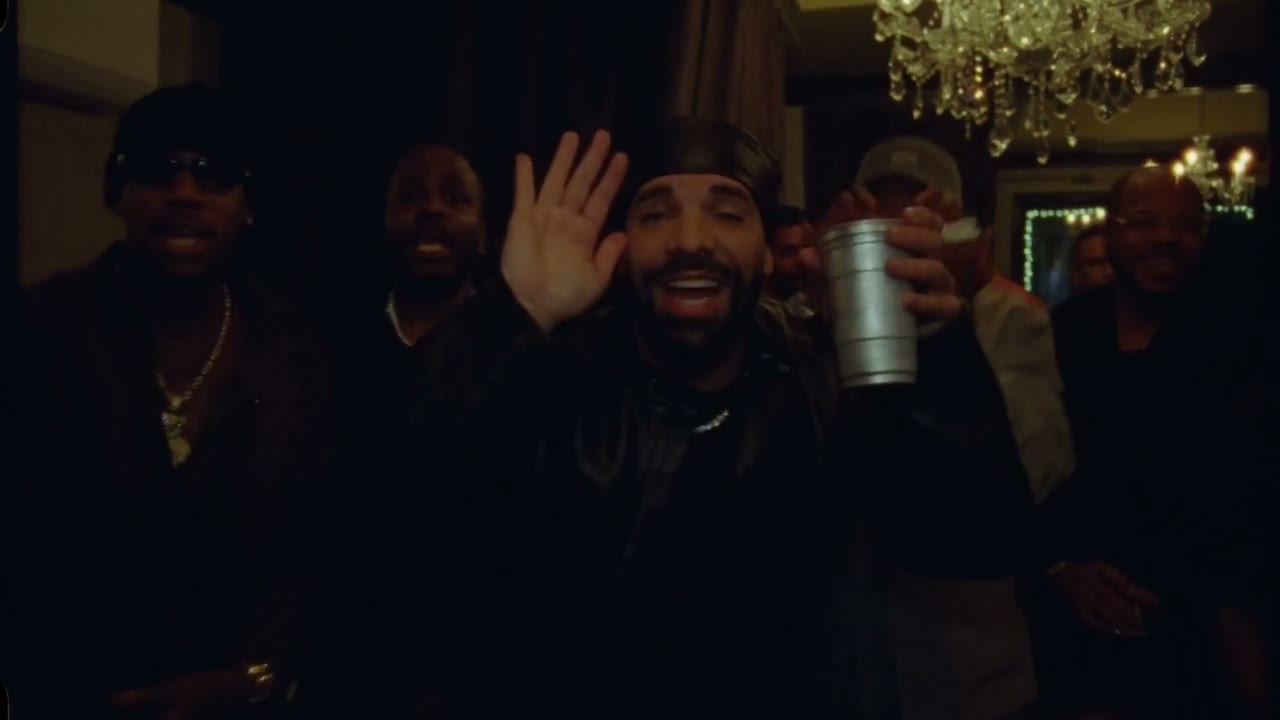
The face changes after a hand or cup passes it
Compare the clear views just before and after the face is covered. Watch the hairstyle, facial shape, and clothing together; a convincing opening frame can still drift later.
If the input hides the face or has heavy blur, choose a clearer photo. Keep the other inputs stable so you can judge the effect of that change.
The cup or fingers lose their shape
Watch the hand’s grip and contact with the cup as it rises and turns. Look for fingers merging into the metal, a changing rim, or a prop that disappears briefly.
Try a simpler source pose with visible arms. Remove custom instructions that add another object or change the gesture. These contact details can remain difficult even with a good photo.
Two supporting people share a face
Follow each recast person across the clip, particularly when they pass behind the lead or turn toward the camera. Check that the lead’s appearance has not spread to the crowd.
Use distinct single-person references and reduce the supporting cast if several roles are difficult to follow. Keep the default assignment instructions clear; adding more photos will not resolve an ambiguous match by itself.
Why Burning Bridges AI results can vary
Current AI video models can produce different results from the same photos and prompt. Faces, clothing, hands, and interactions may become inconsistent during motion. This crowded scene combines close-ups, occlusion, and contact with a prop, so those limitations can be visible even when the inputs are clear.
A strong photo and a small, well-defined cast make your intention easier to communicate, but they cannot guarantee a stable result every time. If you choose another attempt, change one thing for a specific reason and compare the same moment in both clips. Keep the earlier result until you have reviewed the new one. A different generation may not be a better generation.
Want a different room, performance, or cast arrangement?
The prepared Burning Bridges AI template is the quick route for this performance. Custom prompt in Settings lets you edit its instructions, but requests for a new location, extra people, or different camera work compete with the reference it is meant to follow.
For a broader idea, open the Motion Transfer workspace on the homepage. Upload your own motion video and character photos, choose a compatible model, and describe each role in the prompt. Use a reference that already has the setting and interaction you want. Available inputs depend on the model, and the same generation limits still apply.
Burning Bridges AI questions
Can I make Burning Bridges AI with only one photo?
Yes. The lead photo is the only required image. Leave Background · optional empty to ask the template to keep the original supporting people.
Do I need to enable audio generation?
No. The template adds the original reference soundtrack to the video. You do not need to upload music, request new lyrics, or enable a separate audio-generation setting.
Why do other Burning Bridges AI tutorials show a shorter clip?
Different tools can use different excerpts. This template follows the approximately 29-second, landscape reference shown in the tool. Its duration comes from that clip, so a tutorial for a 20-second or portrait version describes a different setup.
Will my photo’s background replace the room?
The prepared prompt preserves the reference room and uses your photos for the people. For a different setting, use your own reference video in the homepage workspace and adjust the prompt.
Make your Burning Bridges AI video
Start with one clear lead photo. Add a supporting cast only if it is part of your idea.
Try Burning Bridges AI